Battle For The Bloomburg Bridge
Mat and I decided to play an outside Funny Little Wars game with about two hundred figures a side. Mat elected to command Army Horizon Blue. My army was Army Black (Hermany). Mat chose the scenario from One Our Wargames by Neil Thomas. The scenario 18 was called Counter Attack and was based on the battle of Lagensala 1866 between the Hanoverians and the Prussians. In the history the Prussians attempted to capture the bridge but the Hanoverians had access to two secret fords and defeated them.
Mat elected to be the equivalent of the Hanoverianequivalent in his Horizon Blue army with a single unit holding the bridge and the rest of his army arriving turn three from the Northern edge. My Prussians whole army began at the Southern edge behind the city. Victory conditions were holding the city and the bridge.


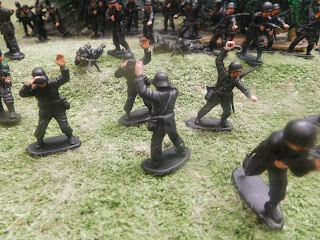
 As the Herman cavalry near the zouaves the Horizon Blue infantry mass on the North side of the river.


The heavy cavalry and additional zouaves cross the river.


Mat chose where the two fords would be and placed cards under the river sections where they were.
The game was to go for fifteen moves. e started at 10.30 AM and finished at 5 PM with one and a half hour break. The first three moves were taken up with the Herman moves with little danger to the Horizon Blue unit at the bridge. The Hermans got their artillery into firing positions and gradually got their infantry into firing positions/ The Herman cavalry temporarily withdrew as Horizon Blue forces massed along the river. A late hour cavalry charge destroyed a unit of Horizon Blue only to fall itself from massed enemy fire.
By move fifteen the Hermans were disputing control of the bridge but the horizon blue forces were clearly in control. The Herman city of Floozyburg was under no threat. Casualties were particularly heavy on the Horizon Blue side but the victory conditions dictated a draw.
It did leave me wondering how I would have played it if I had been the bridge holderand I think i would have aced the two fords on one flank and behind the 'mountain' (veranda and apricot tree) so that troops could cross unopposed to begin with. The artillery and machine gun and some support infantry I would have positioned near the bridge, ensuring artillery deployment occurred early.
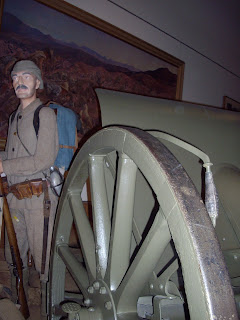
We used matchstick firing cannon with a shell burst of six inches from target, particularly nasty for close packed troops, even with a 50% casualty and 6 saves on a D6. Mat's troops were in close order to get across the fords that were a board length in wide. A number of my own units were able to approach the river in open formation,which reduced their casualties.
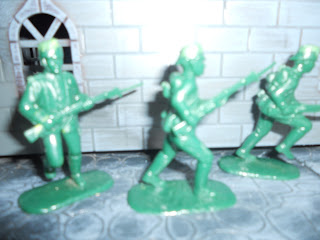
The day turned out fairly hot so we were glad of some shade from the trees. Typically of my Funny Little Wars games troops from various eras of the 19th and twentieth centuries are used. My ACW armies fill in any gaps. The period is vaguely somewhere between late 19th century and 1913.


Excellent stuff, Gentlemen. A jolly fine report, too. A very impressive collection of soldiers. :)
ReplyDeleteThanks Stephen; your feedback is appreciated.
DeleteGlorious! And Amazing! What a beautiful sight to see! I am rushing off to work right now but these images will fill my commute with happy daydreams of garden gaming! Thank you!
ReplyDeletePrivate W, thank you very much. I just took a squiz at your own blogs, including Battling with Britains and enjoyed the pictures and narrative.
ReplyDeleteWhat a wonderful outdoor game.
ReplyDelete