The Nips are Coming!


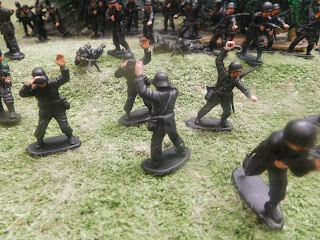
2/3 finished. I still have details and flags to add. The back row is intended as Mexican.

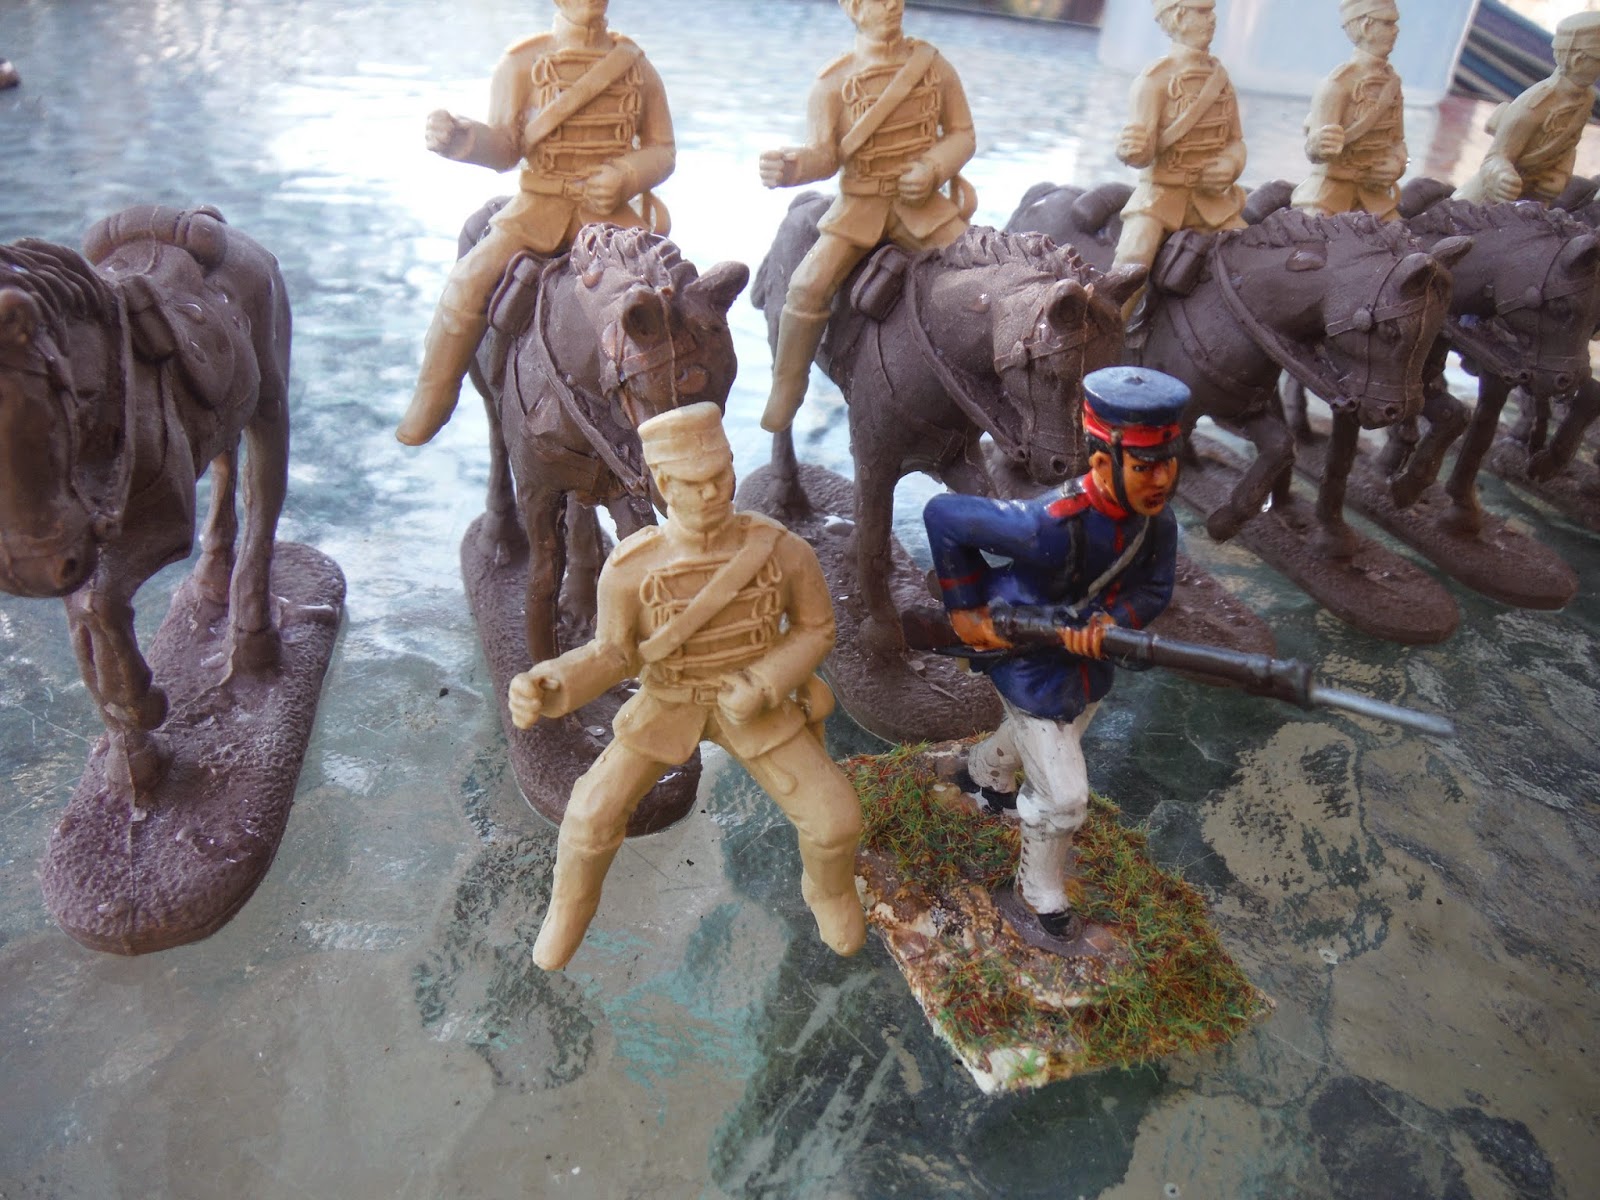
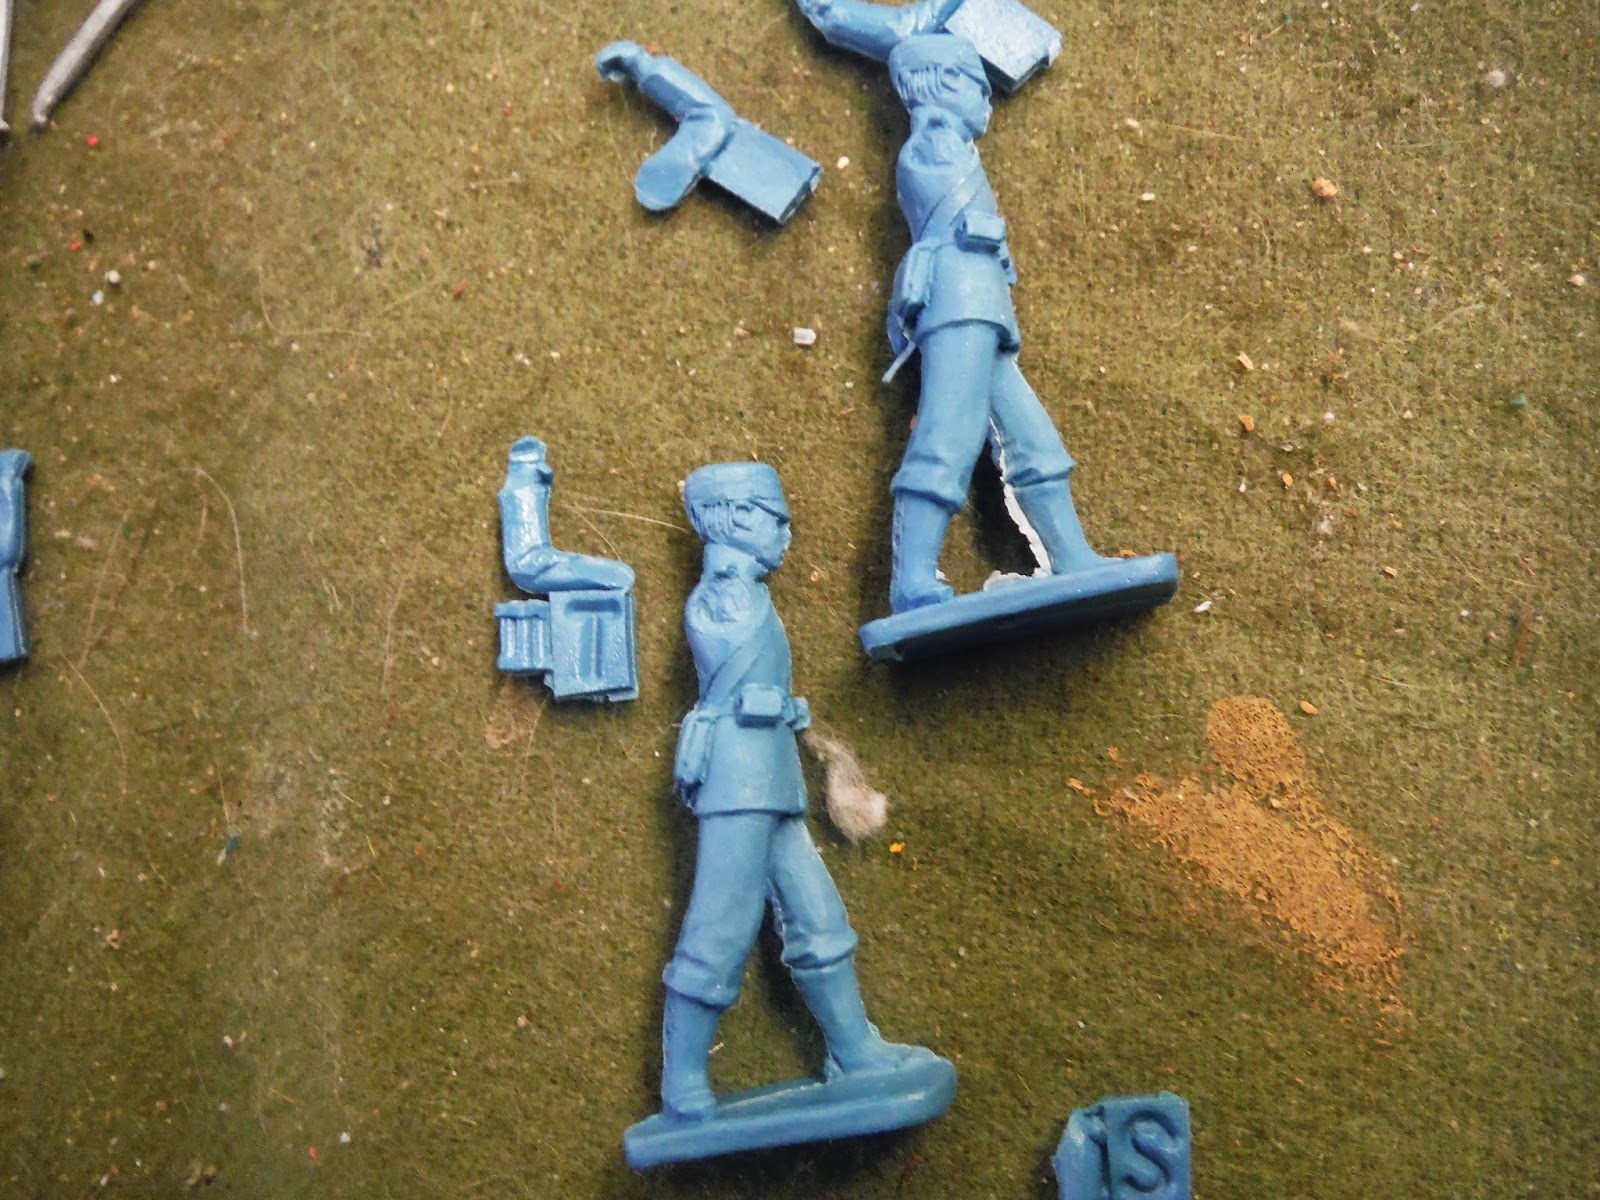
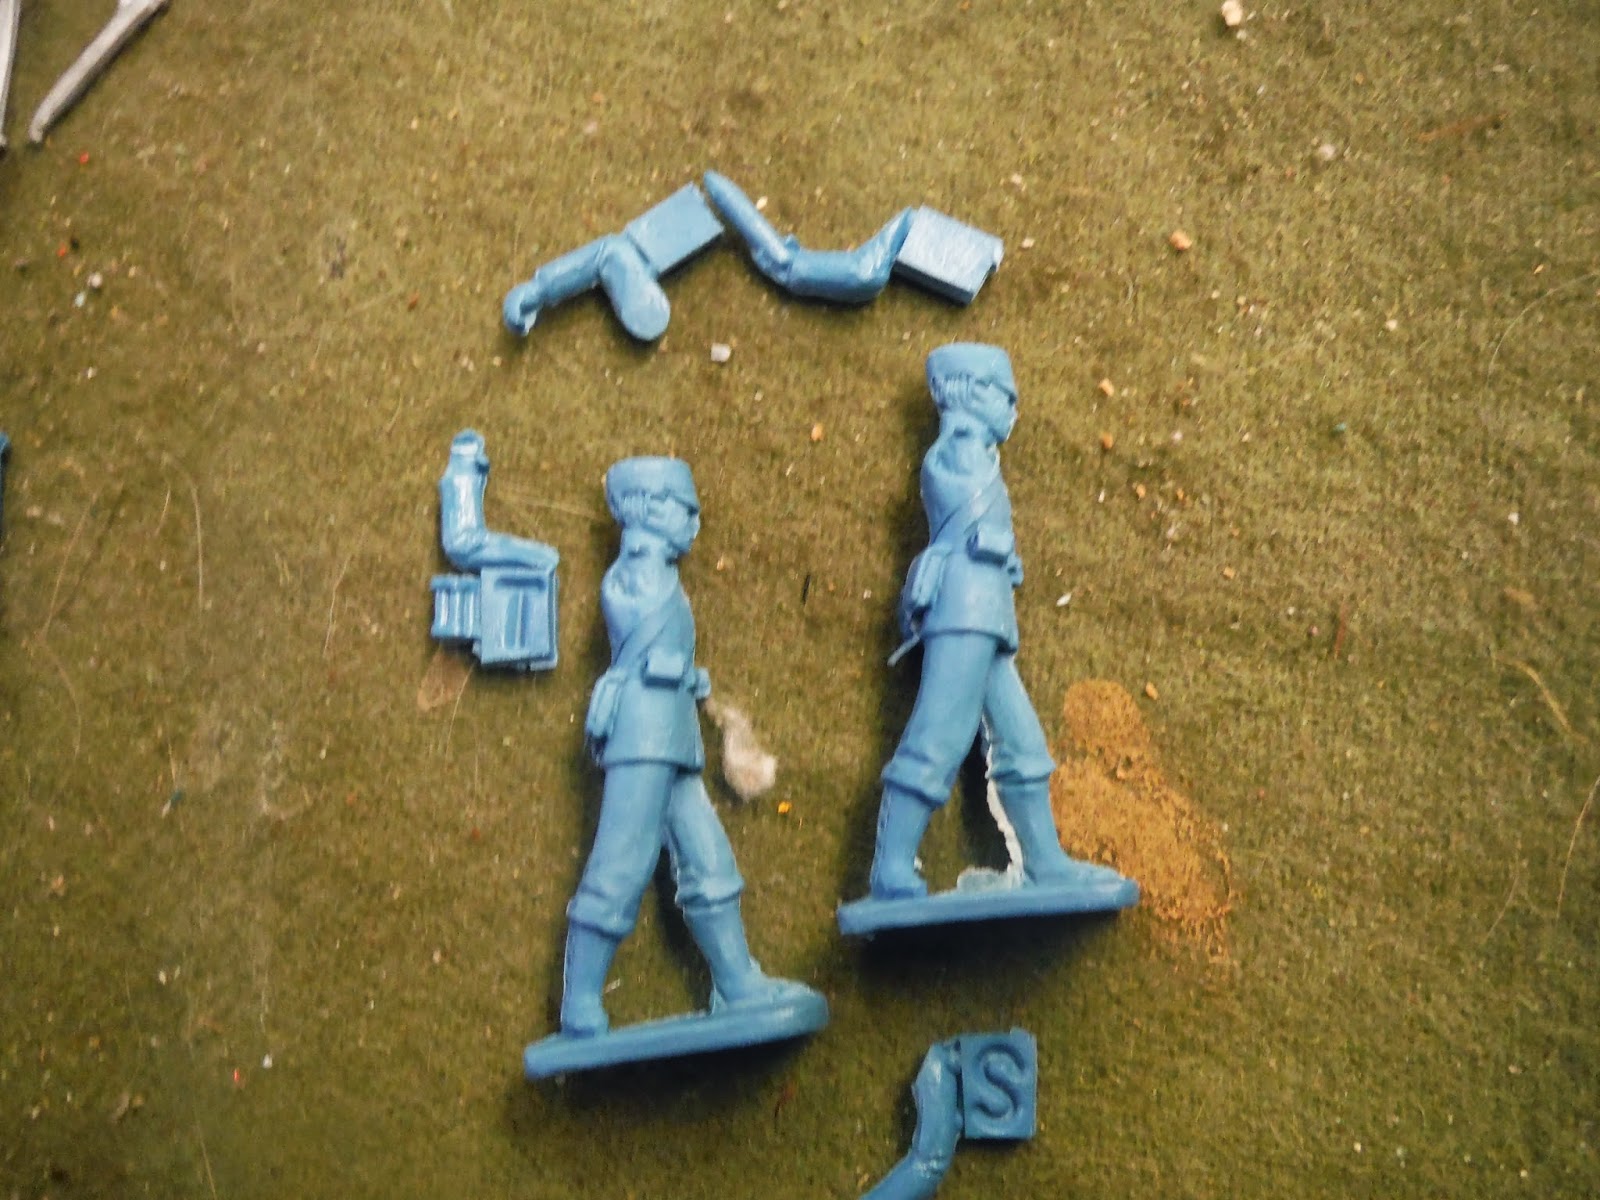
The AIP figures have nice faces, without variation, that hint at their Mongoloid race, with pronounced cheekbones and unobtrusive noses. However, the features are sufficiently mild, not as pronounced as Airfix WW2 Japanese for example, to serve for other armies. AIP come in good combat poses, although I would like them to include a marching figure in their sets. In this set you are not over loaded with clubbing figures or bandaged heads. As usual, I use the extra officers as flag bearers, by replacing the sword with metal rod and trimming off sword scabbard and cutting down pistol holster to ammunition pouch. There is a sizeable wedge of plastic between body and gun, on the kneeling firing figure which I could not abide. It was easy to carefully cut off with a sharp craft knife with two cuts, one going along the length of the rifle. Take it slowly and gently with the two cuts until they meet and the wedge can be removed. The standing figure has a very small wedge which I mostly ignored apart from some feeble cutting. In the end I used some black paint mixed with the base uniform colour to indicate a gap.
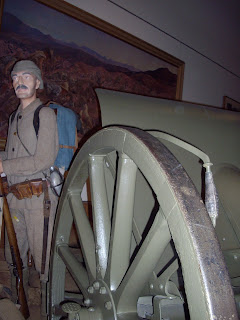
The Virtual Armchair figures are resin with metal weapons, bugle and flag pole. The figures I bought by ordering the individual figures I wanted. The cavalry are all the same and just require the sword, pole or bugle added. They have very nice jacket braiding.The horses are nicely sculpted but are all the same pose. There is not a lot of flash but a nob of plastic behind one of the horse legs. The left hand has an imperfection with a finger not coming out but it is underneath against the horse where the rein is meant to be held. and will not show up. To allow the sword to be attached there is only a rudimentary thumb on the right hand, not very noticeable, but you could add it with putty after gluing the sword. The faces are generic so you could paint the figures to represent other armies such as Balkan or Austrian. The figures fit very well, in style and size, with old Britains leads, perhaps fractionally larger but slightly smaller than AIP. One thing I would have liked is a carbine on the back of the figure. Incidentally, there are also foot cavalry which I did not buy. The best thing about this range of figures is the gaps covered - no one else, I know of does plastic or resin Japanese cavalry, sailors, engineers and Hotchkins machinegun with crew, cook, artillery range finder and so on.
AS MEXICANS FOR MEXICAN REVOLUTION
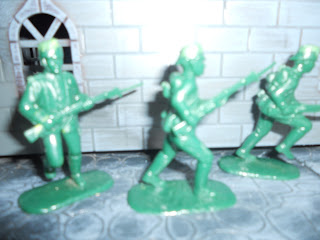
The AIP infantry can be used for Mexicans as is but I trimmed off gaiters to represent rolled up trousers and cut shoes into sandals and toes. This was not entirely satisfactory as I think the lower part of the legs still looked too thick, as well as chopped about. You could leave as gaiters, although not common in Mexican armies. Also you could fill in with putty to make trouser bottoms or do conversions combining other AIP figures like colonial British. The head itself could just be transferred. The caps came in a few styles, including the French or American style kepis, the small crowned or pushed up crowned caps like these Japanese ones and the more common British style like the WW2 British you could get from AIP British cavalry or the officers in Airfix 8th Army or larger cheap copies. You could also use American ACW for variation, adding ammunition pouches and/or bandoleers and swapping heads with Japanese or British. Mexican artillery and some infantry also had sun helmets but without the cloth wound around. so you could use some heads from British colonial.
I found this uniform reference on a Japanese site. I couldn't read the Japanese to give credit. Although the site features cute manga girls in uniform i judge by the detail that the uniforms were researched to put the Manga characters in. I am assuming the back detail is correct because I don't have another reference for the rear of he cavalry uniforms. below the manga figures are illustrations from the Virtual Armchair support page on Japanese uniforms.


AIP figure require good washing/soaking of figures in vinegar or detergent and after thorough rinsing and drying I coat with car plastic spray followed by a white, black or light brown spray from Games Workshop.
By contrast i tried with the resin figures to paint straight on the resin, with mixed results. The buff color is a nice base but i noticed a slight resistance to the acrylic paint which left small areas clear of paint until I went over them again. if I held the figure to tightly son after one color dried some bits could rub off. his would have been worse on the AIP figures. However, next time i'll use a spray paint undercoat although not the plastic spray on them. In any case, the artist fixative I spray over the top should seal them. I am not going to use the PVA over the top I would use on most soft plastic figures.
For Japanese skin color I use a shade of flesh without a suggestion of pink. I mix a little yellow or yellow sand color in until I am happy with it. I am assuming an oriental tan for men in the elements but without the reddish or copper tinge Europeans get. The Mexicans were not too different but a little more brown. For lips I add some of the flesh color to the red as I don't like the men to look like they wear lip stick, although this might suit the manga girl soldiers! GW have a nice flesh wash which worked well. I then added more highlights while the faces and hands were still slightly wet from the wash. I didn't add a red tinge to the cheeks as I didn't want the faces to look European.
For the uniform I found two 'stone' colors in the Games Workshop range that are good light khaki colors. I used the lighter stone for the Mexicans as I wanted a really sun bleached look. I also used a light brown ash to bring out the creases in he clothes and then added some more highlights with progressively more white or light sand color added to the uniform mix.
Below are other figures from the Funny Little Wars resin range. The Hotchkins machine gun is especially nice and as these were also used in the Mexican Revolution I am going to color the crews uniforms sand colored so I can use them for both wars. The other figures are engineers and gunners. There is also a range finder. The square thing on the arms are sprue but could be used as spare ammunition boxes.


CAVALRY CONTINUED
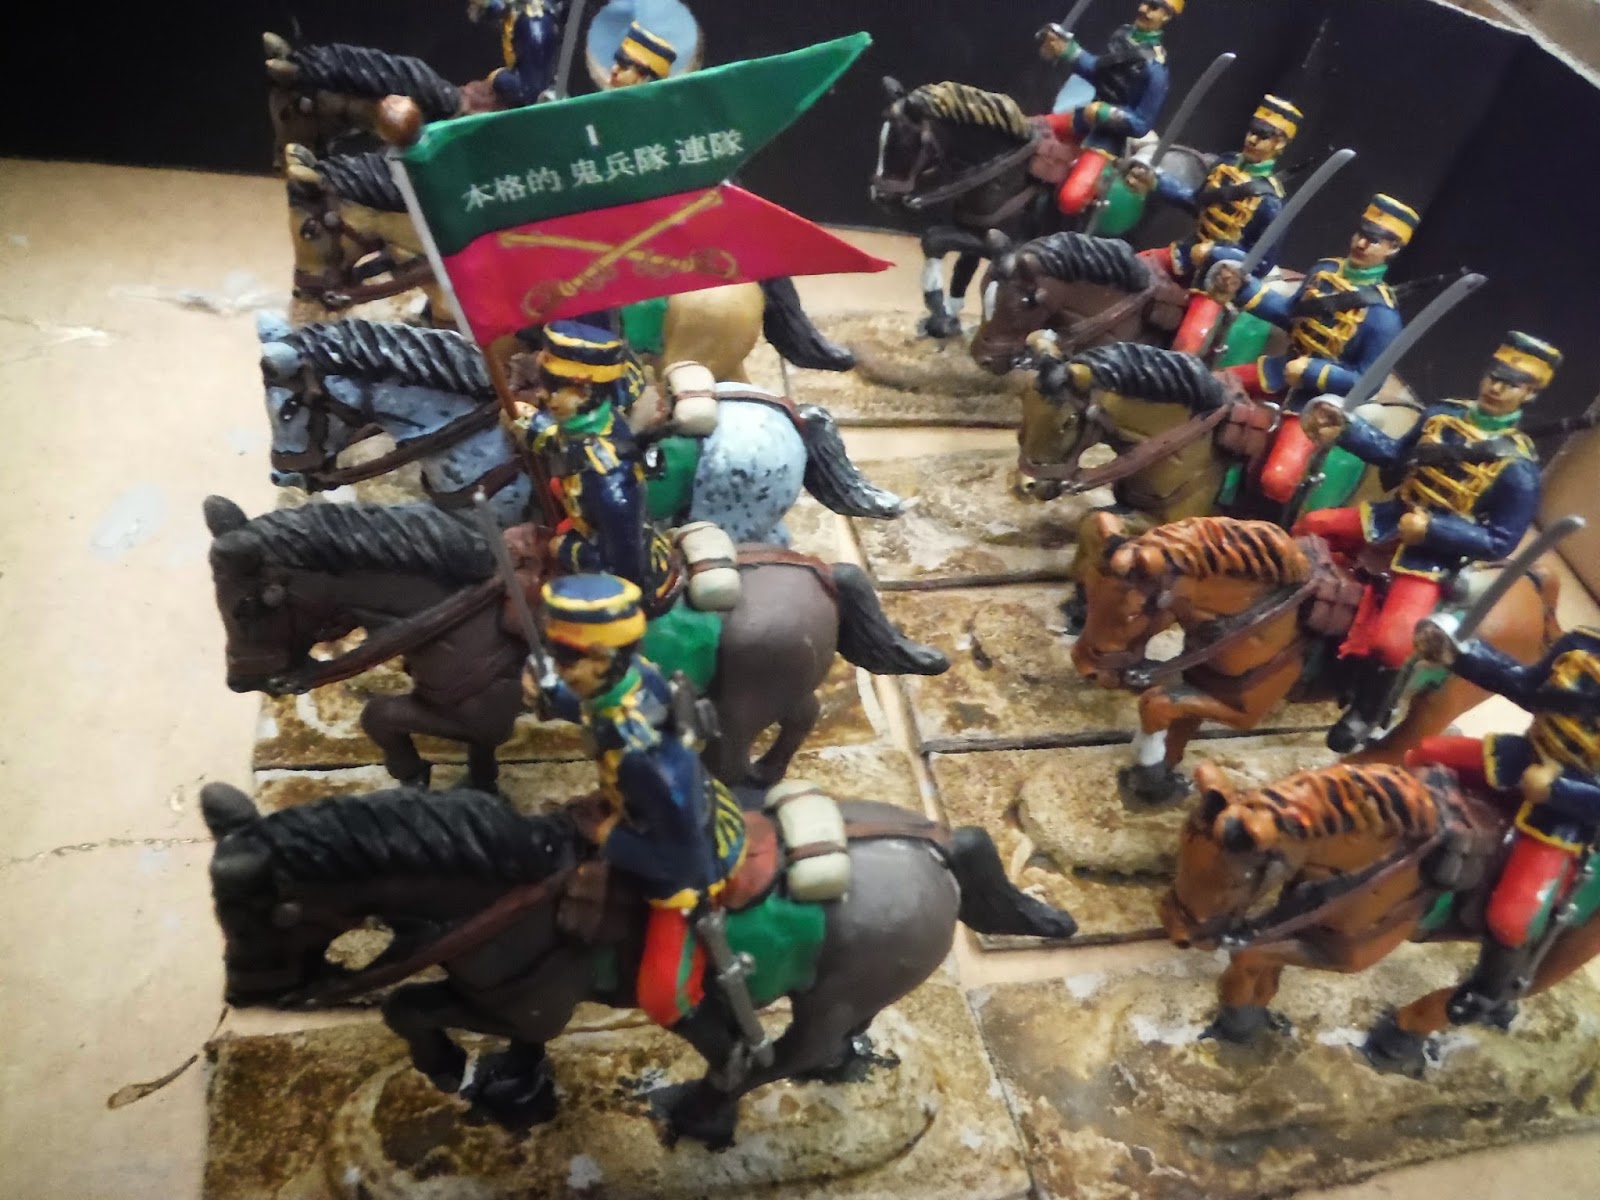
The cavalry are nearly complete although, as usual I made my own modifications: There was a wedge of resin between the reigns which I easily drilled and cut out. The metal swords that came with the figures were rather thick and wide, good for resisting breakage but too large for my taste so I replaced them with DSG plastic sabres and then, after Super Glueing used putty to extend the fingers over the handles. I also ransacked my old Airfix and Tamiya hard plastic WW2 kits for rifles. Those with magazines had these trimmed down. The rifles were glued to the backs of the figures. I also cut off the hilts from the sword scabbards except for the flag bearer and the trumpeter/
The main error I made with these figures was not undercoating as the paint started to rub off even as I painted the next colours. The horses, however, were undercoated with plastic bumper spray and GW black spray and I did not have this problem. I am going to overcoat with PVA followed by artists spray fixative just as I do with soft plastic figures and this should also help fix the rifles on the backs.

COMPLETED AT LAST


Comments
Post a Comment