Beerstein versus Bogavania 2
Mat and I re-fought the same scenario as the last game this time with me playing Bogavania versus Mat's Beerstein. Beersteinian forces outnumbered the Bogavanians but had to cross the river Moonch, On my left this could be done only by the bridge, whilst elsewhere the river could be crossed at quarter movement.
Mat had the first move but had to set up first. He had three attack forces with a large column of knights on my right flank. They would, however have to get over the bridge. The middle attack was made by a column of Teutonic knights and another of knights in chain mail. On my left flank another large column approached. I took care to limit the possibility of out-flankers by moving forces to the board edges. As it happened the Beersteinian reserves arrived late but the first one had space to appear on my side of the river. This opened up the attack for the advancing Beersteinians, including more Hill-men reserves.
BELOW: As in the previous game the Bogavanian archers took position in front of the church.

 Bogavanian peasants and knights defend the right flank and the bridge. The peasants did not actually get into battle.
 Bogavanian knights defend the left flank. No, I did not count any attacks from the 'giant cat'. Fortunately she already tuckered herself out playing with the dice and I'm a sucker for cats so I let her 'block' my horse archer shooting until she was inclined to get up from her snooze.
 Eastern horse archers in Bogavanian employ defend the left flank and are supported by catapults. Unlike the previous game the horse archers got to shoot their arrows but the catapults wee entirely ineffectual, their stones falling short.

 Eastern Heavy archers move forward to support the centre and left flank.
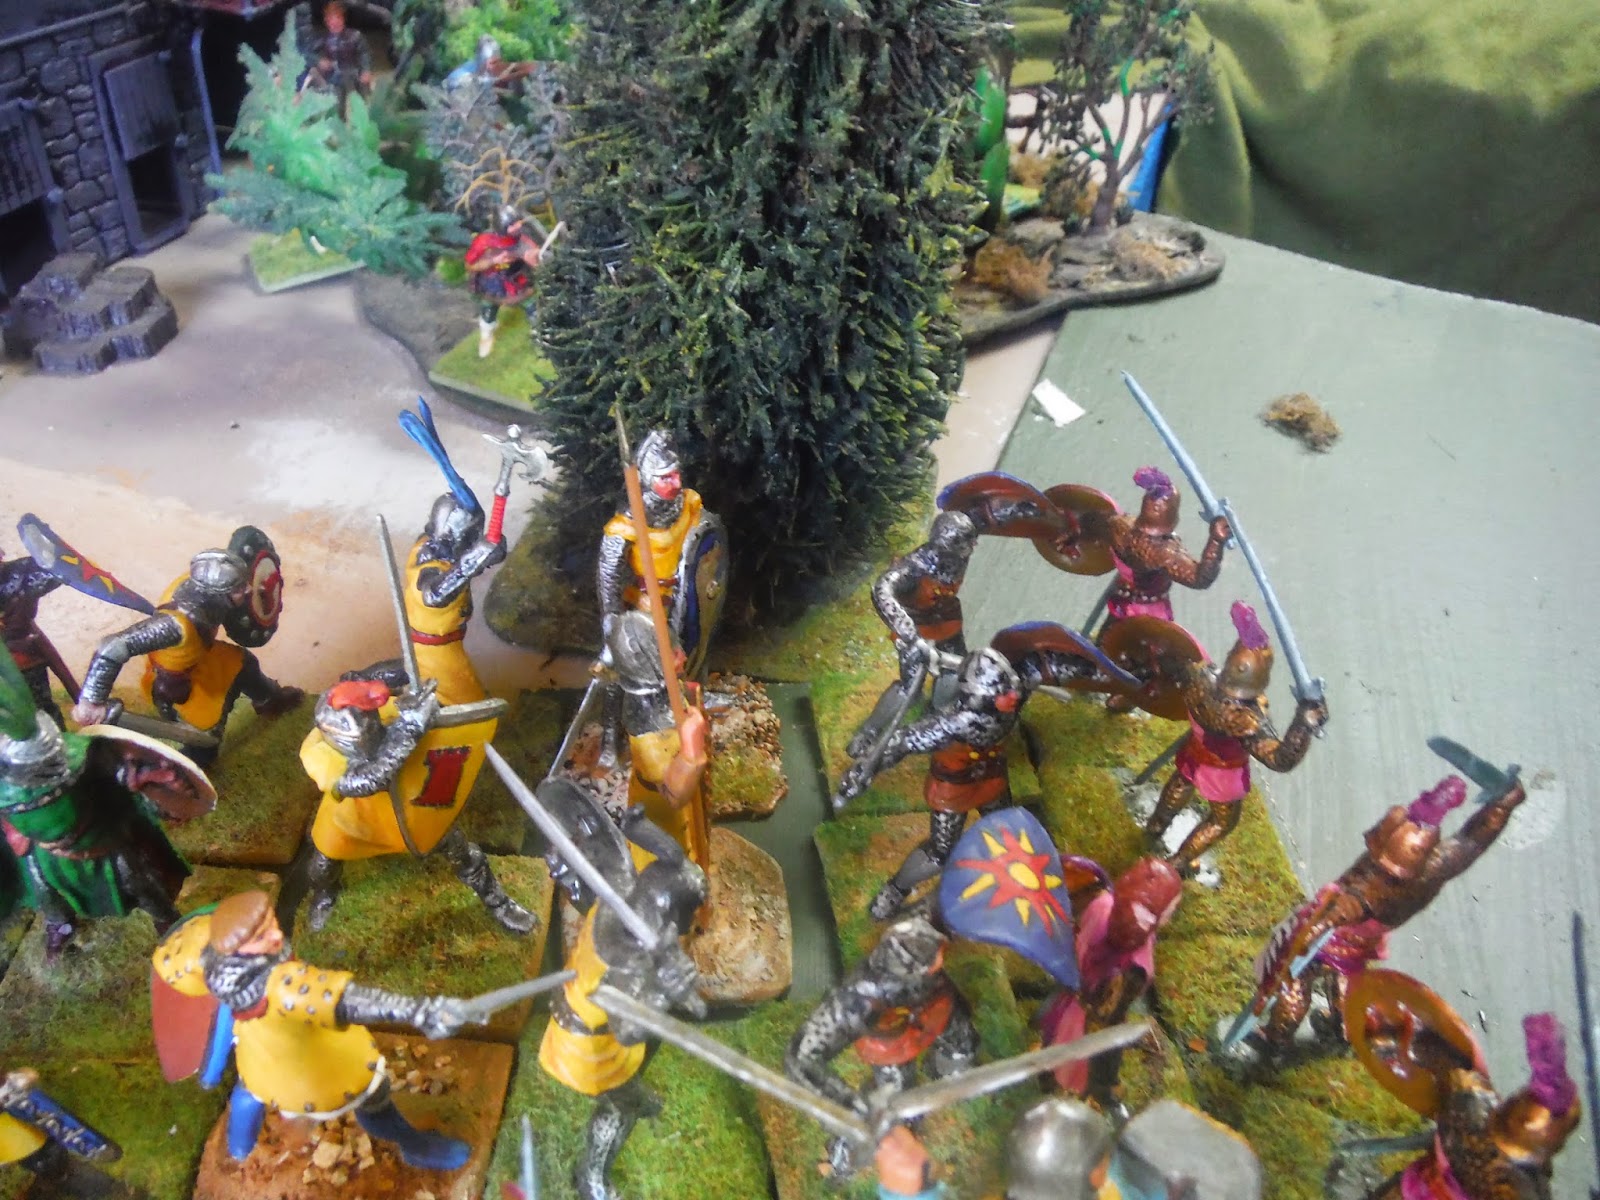
 Bogavanian knights are confronted by Hill-men with two handed axes.
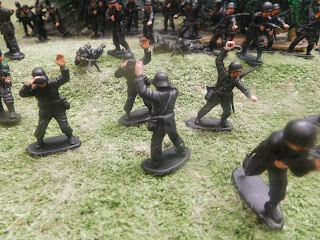
 Beerstein forces cross the river on the left front.

 Teutonic crusaders cross the river only to be met with hails of arrows from horse archers and foot archers; they are wiped out.

 Beersteinian archers open up on the right flank, killing a few Bogavanian knights and killing off a small unit of Bogavanian bowmen after sustaining a few of their own casualties.
 The great swords destroy the medium horse archers except for two who are taken prisoner. However, they then get destroyed by archery fire.
 Mounted heavy archers clash with the advancing Beersteinian foot knights.
 On the right flank Lord Swartz and his halberd armed knights clash on Badnut Bridge with the Beersteinian knights led by Lord Timmee. Lord Timmee killed the Bogavanian hero, Sir J buesse Swiftsword. Enraged by his friend's death, Lord Swartz ploughed into the Beersteinian leader and carved him through the head to the chops. The dispirited Beersteinians were then pushed back across the bridge.
 The heavy mounted archers, assisted by the hero, Sir Connor, continue to hold up the advance of the Beersteinians on the left flank. However, they are massively outnumbered ten to one.
 The Hillmen smash though the Bogavanian mounted knights, the beserkers giggling maniacally, slavering and biting their axes in blood covered joy!


 Meanwhile the Beersteinian prince adds his weight to the battle against the resolute Bogavanian heavy horse archers.
 King Blue Iron races, too late, to add his strength to the battle.
 The peasants are also too late to join the fray.
 The right flank view from the Bogavanian side.

 From the Beerstenian side the view of the Bogavanian right flank. They were unable to get over the bridge.
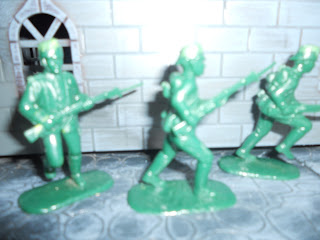
 One unit of Hill men secretly marched to join the Bogavanians, who they believed would pay them better given the Bogavanian king's recent swollen coffers from the confiscation of the monasteries.


Lord Swartz, on the left, takes on Lord Timmee.


Mat had the first move but had to set up first. He had three attack forces with a large column of knights on my right flank. They would, however have to get over the bridge. The middle attack was made by a column of Teutonic knights and another of knights in chain mail. On my left flank another large column approached. I took care to limit the possibility of out-flankers by moving forces to the board edges. As it happened the Beersteinian reserves arrived late but the first one had space to appear on my side of the river. This opened up the attack for the advancing Beersteinians, including more Hill-men reserves.
BELOW: As in the previous game the Bogavanian archers took position in front of the church.
Bogavanian knights defend the left flank. No, I did not count any attacks from the 'giant cat'. Fortunately she already tuckered herself out playing with the dice and I'm a sucker for cats so I let her 'block' my horse archer shooting until she was inclined to get up from her snooze.
The fallen, Lord Timmee and Sir Jesse Swiftswod. Ironically, both of them were Redian adventurers who married into Beersteinian and Bogavanian noble families.
The outcome of the battle was a victory for Beerstein as its forces had become established deep in Bogavanian land. The Bogavanians were still potent force but with their left flank broken, outnumbered two to one, although the bulk of the Beersteinian forces were still confined to their side of the river. Bogavanian archers were still a deterrent in the centre abd Badnut Bridge was still held by the Bogavanians.


Comments
Post a Comment