Alien Arena battle 2
Mat and I enjoyed the previous alien arena game so much that we did a re-run with different armies. I'll be including more snaps ad an account of the battle.
The armies were again the result of drawing facedown description cards. The size of units varied greatly. My smallest unit was three men (scarecrows) and largest 24 (Romans and Skeletons). The numbers of units were uneven, by one, so it was good to get first turn of selection.
MAT'S ARMY:
Spacemen heroes, Aliens, Great White Hunters, Ape soldiers, Swordsmen, Kelly gang. (His aliens and spacemen each had a flying figure capable of independent action but Mat forgot to use one for this purpose).
MY ARMY
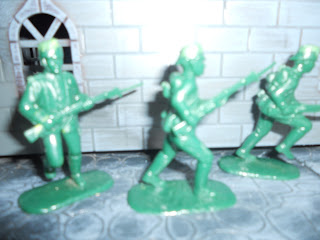
Gunslingers, FFL, Morlocks, Post-Apocalyptic figures, Scarecrow men, Romans, Skeleton warriors
The Morlocks and scarecrows were infiltrators. Mat got no infiltrators.
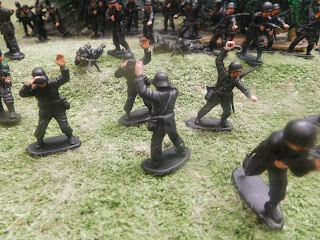
The game was done with the same scenario and set up as last game but with me hemmed in a little by the (crossable) river. We rolled to active troops and most of my army came on fist turn and only a couple for Mat. My two lots of infiltrators started on the board but had to be activated; this happened withing two moves. My Morlocks seized an objective next to the nuclear power station (a model of a building ruin in Hiroshima once made by a student and textured ad painted by me!) The scarecrows grabbed the objective next to the Sphinx. Both units hightailed it to the river and began crossing back to the main deployment area. My Romans and Skeletons moved into the river and lurked behind the Sphinx where they could help my infiltrators if they got into trouble.
My gunslingers began on Mat's side of the river and moved towards the church. The halted there to cover the area around the knight statue where there was another objective. The area of the statue was in range of Mat's Great White Hunters who, typically (as I had done with them last game) took position in the Gothic ruin. I had no intention of advancing into the central 'kill zone' of the table.
My FFL took position, in the forest, next to an objective; they also covered the center of the table.
Mat's Kelly gang grabbed an objective close to his deployment zone. His late arriving aliens grabbed another. Then his Space hero rocketeer flew in and grabbed the objective in front of the statue. The gunslingers opened up on him wounding him but not fatally. The gunslingers were then exposed to fire and suffered a number of casualties.
My Post-Apocalyptic four warriors climbed a metal tower to retrieve another objective.
I held four objectives to Mat's three so he was compelled to advance. His spacemen crept up on my left flank to cause more casualties among my gunslingers. My FFL shot down a couple of spacemen but their machinegun jammed twice. MG rules. 12 dice Three 1's means a jam with hits for that round halved. Then I had to roll to unjam it, easier each subsequent try.
Mat's gorillas with guns and swordsmen advanced on my right but hesitated due to my two units of ancient warriors. However, the Romans were in line of sight of the advanced spacemen on the other flank and lost some more warriors.


And what rules for the Doctor. No weapon unless the sonic screwdriver is one.


Comments
Post a Comment