American Civil War Conversions & Using Polystyrene For terrain.
I decided I wanted some more NCOs and officers as well as a bugler for my infantry.
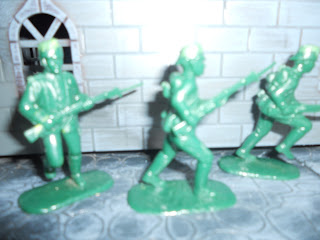
First up, some of my old favourites - Timpo Action pack Confederate and Union NCOs both painted as Confederates. I decided on the pleasing official Confederate uniform colours. They have light blue NCO chevrons ans dark blue trouser stripes.


First up are two unpainted ones that I converted. The officer with despatches was scalped and given a slouch hat from an Accurate officer. The one with pistol is a US cavalry figure from the Custer set. The arrow going into his neck and right arm were removed and, after drilling out the shoulder a metal home casting arm with bugle was glued in place. Green Stuff filled gaps. The top of the boots were trimmed to represent trousers (although it was not unknown for rank and file infantry, especially Confederates, to wear high boots. I reckon they would have been stifling in Summer and not as comfortable for walking in as shoes).


In case you were wondering, the terrain is made from polystyrene packaging - useful and cheap, although messy to work with. I coat it in PVA before painting with acrylics. Enamels will melt it and take ages to dry. In theory you could seal it enough with the PVA to use enamels but I find it still finds some avenue to get in. You can do it deliberately with enamels or turpentine, to melt it to get strange and pleasing shapes, but as I said, it takes ages to dry. I did this once with spirits or turps and got nice bluish transparent finish which looked like an ice background - nice for sorcerers and penguins. (Incidentally, transparent plastic bread boards make good ice sheets). I also read of mixing flour in with the PVA to make a tougher result.
Back to rocky types, if you paint the polystyrene black and dry brush with greys that works well. I like the blue-grey slate kind of look, especially evocative for fantasy settings but really can be used for just about anything.


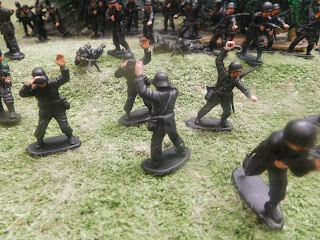


Some spirited conversions and character Figures ...
ReplyDelete